Pixinsight LRGB Processing Step by Step

Update! I’ve added a video version of some of the techniques used in this tutorial, check it out.
Recently I found a great tutorial on how to properly do an LRGB combine routine using Pixinsight. I've had my own LRGB combine routine for sometime, apparently I was not doing things the correct order, as you can see in the before and after images below.
After finishing the tutorial, and running it on a few old images sets, I really liked how the images were coming out but I struggled to remember all the steps. So I have deconstructed the tutorial to just the essential steps, skipping all the how and most of the why.
At the bottom of this post is just the steps, for those wanting an even shorter how too.
I hope it helps you as much as it has helped me.
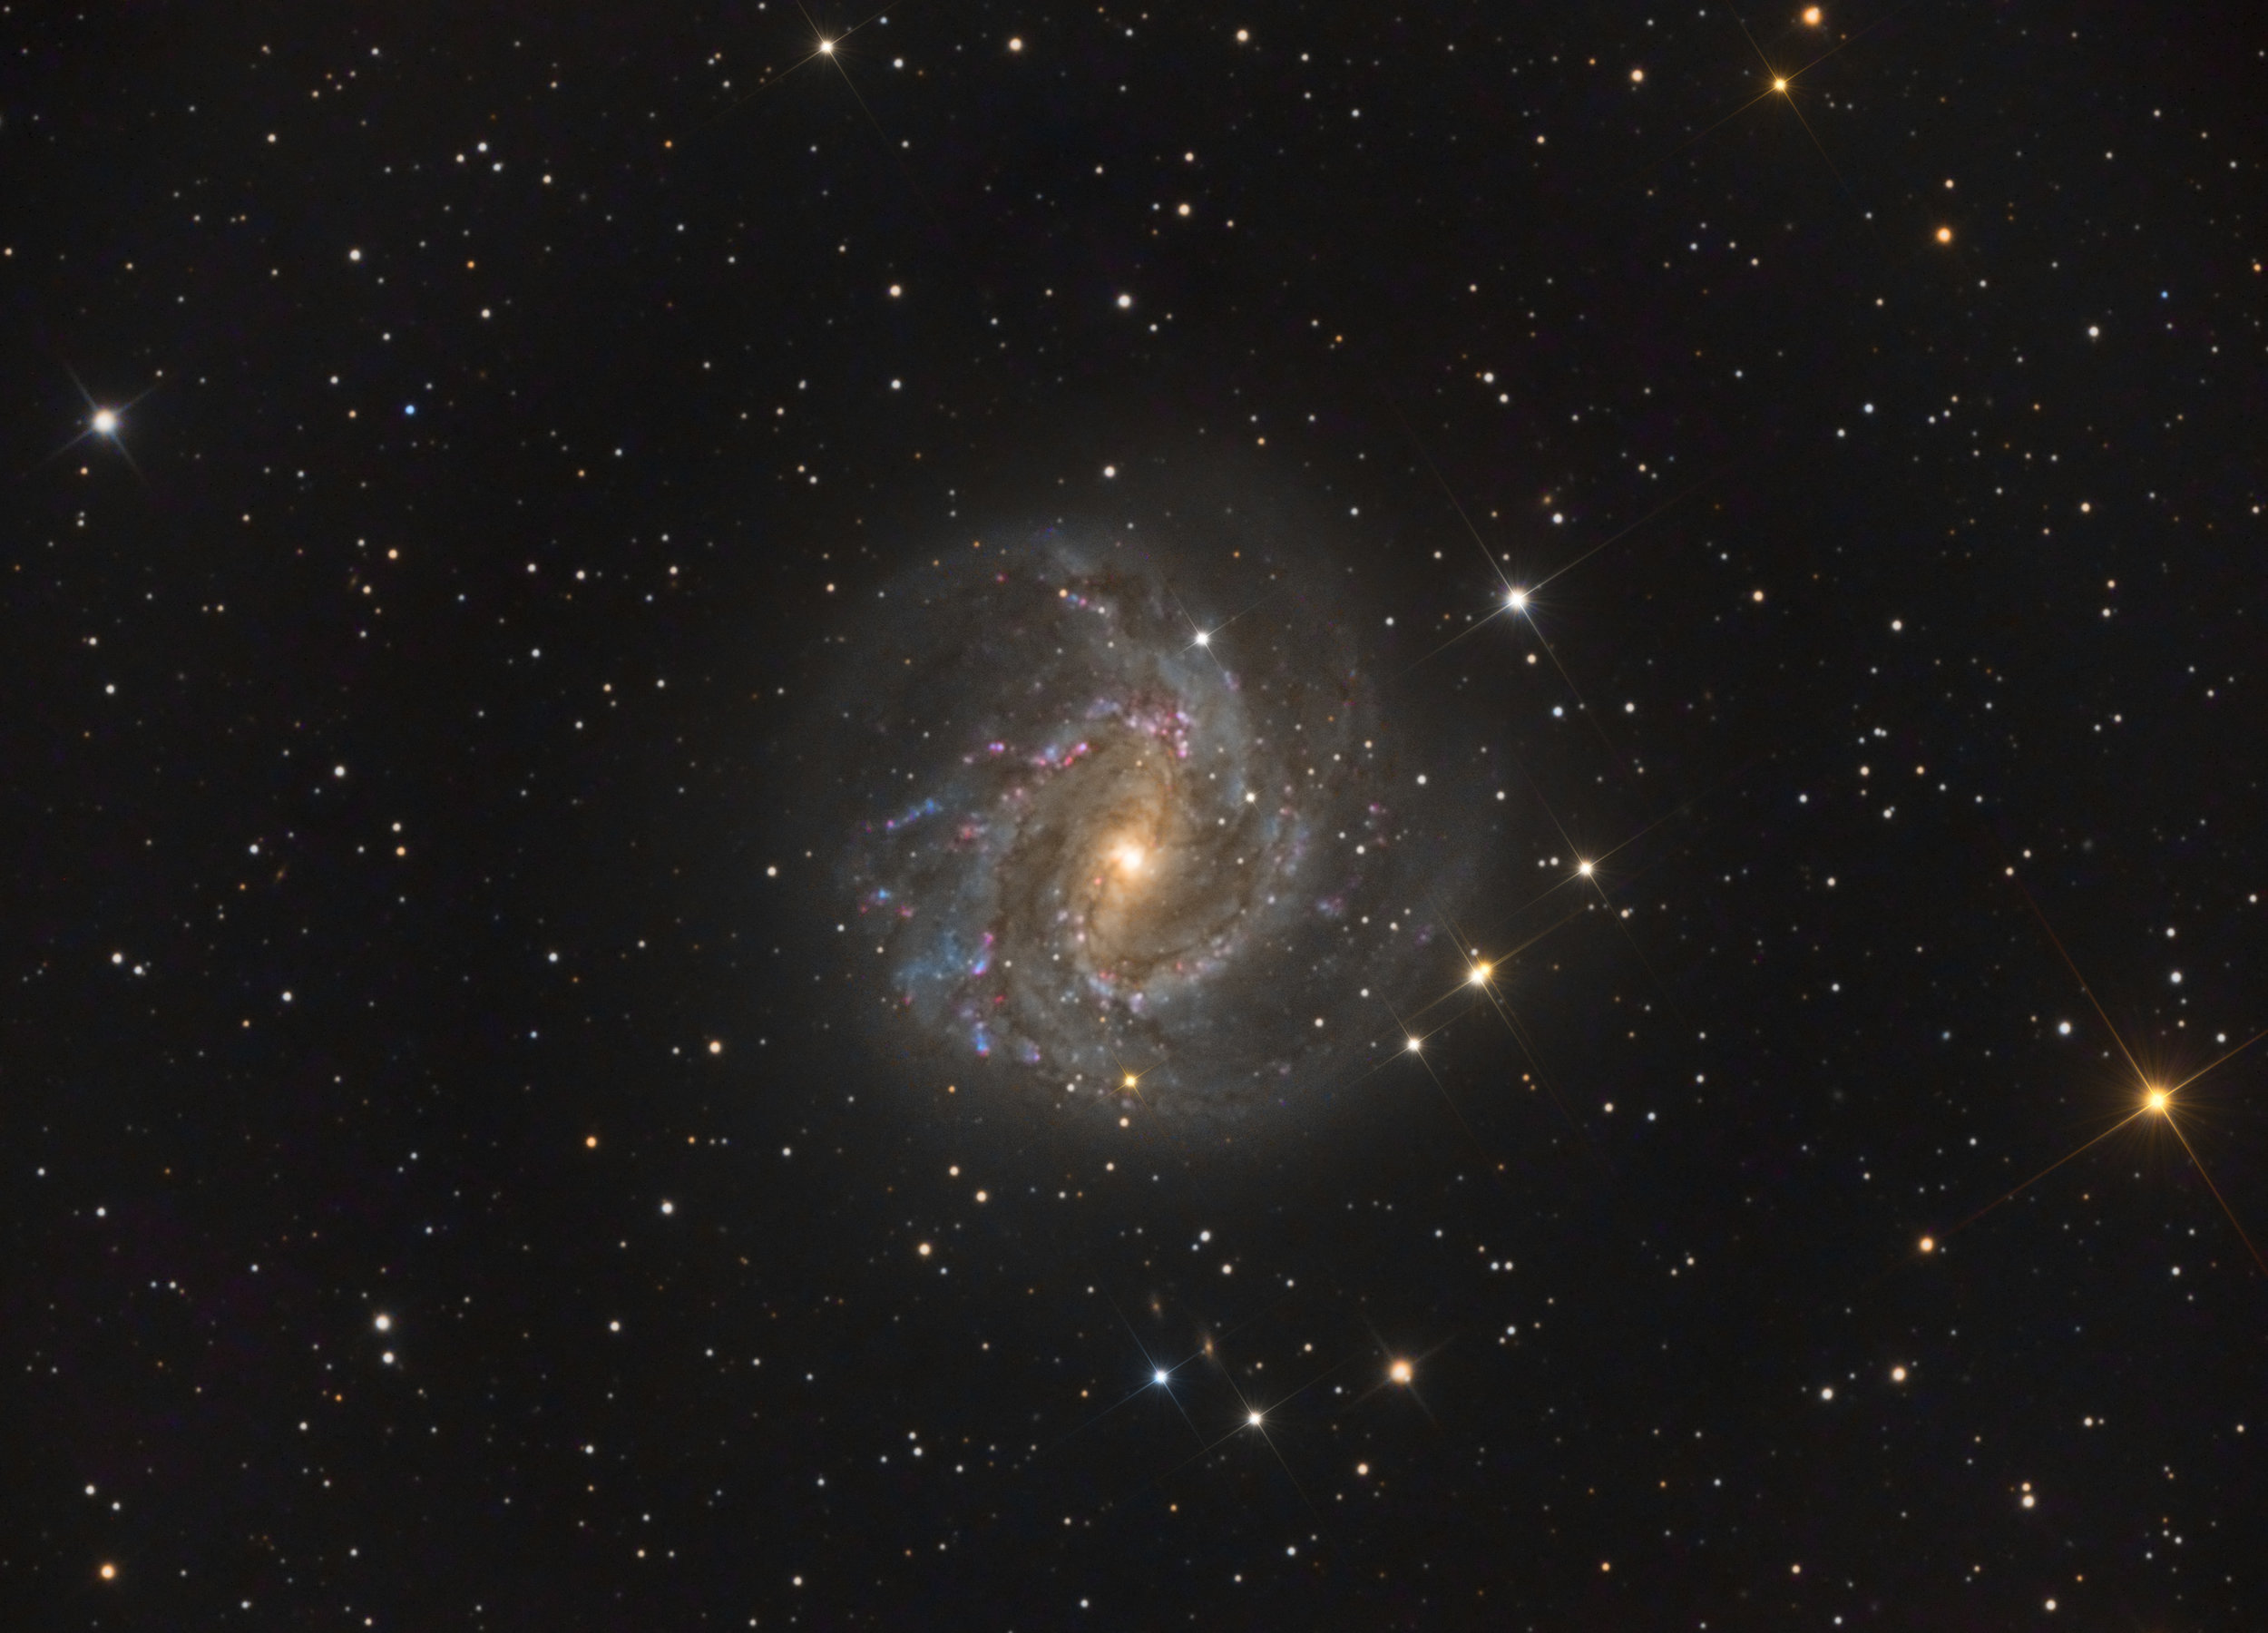
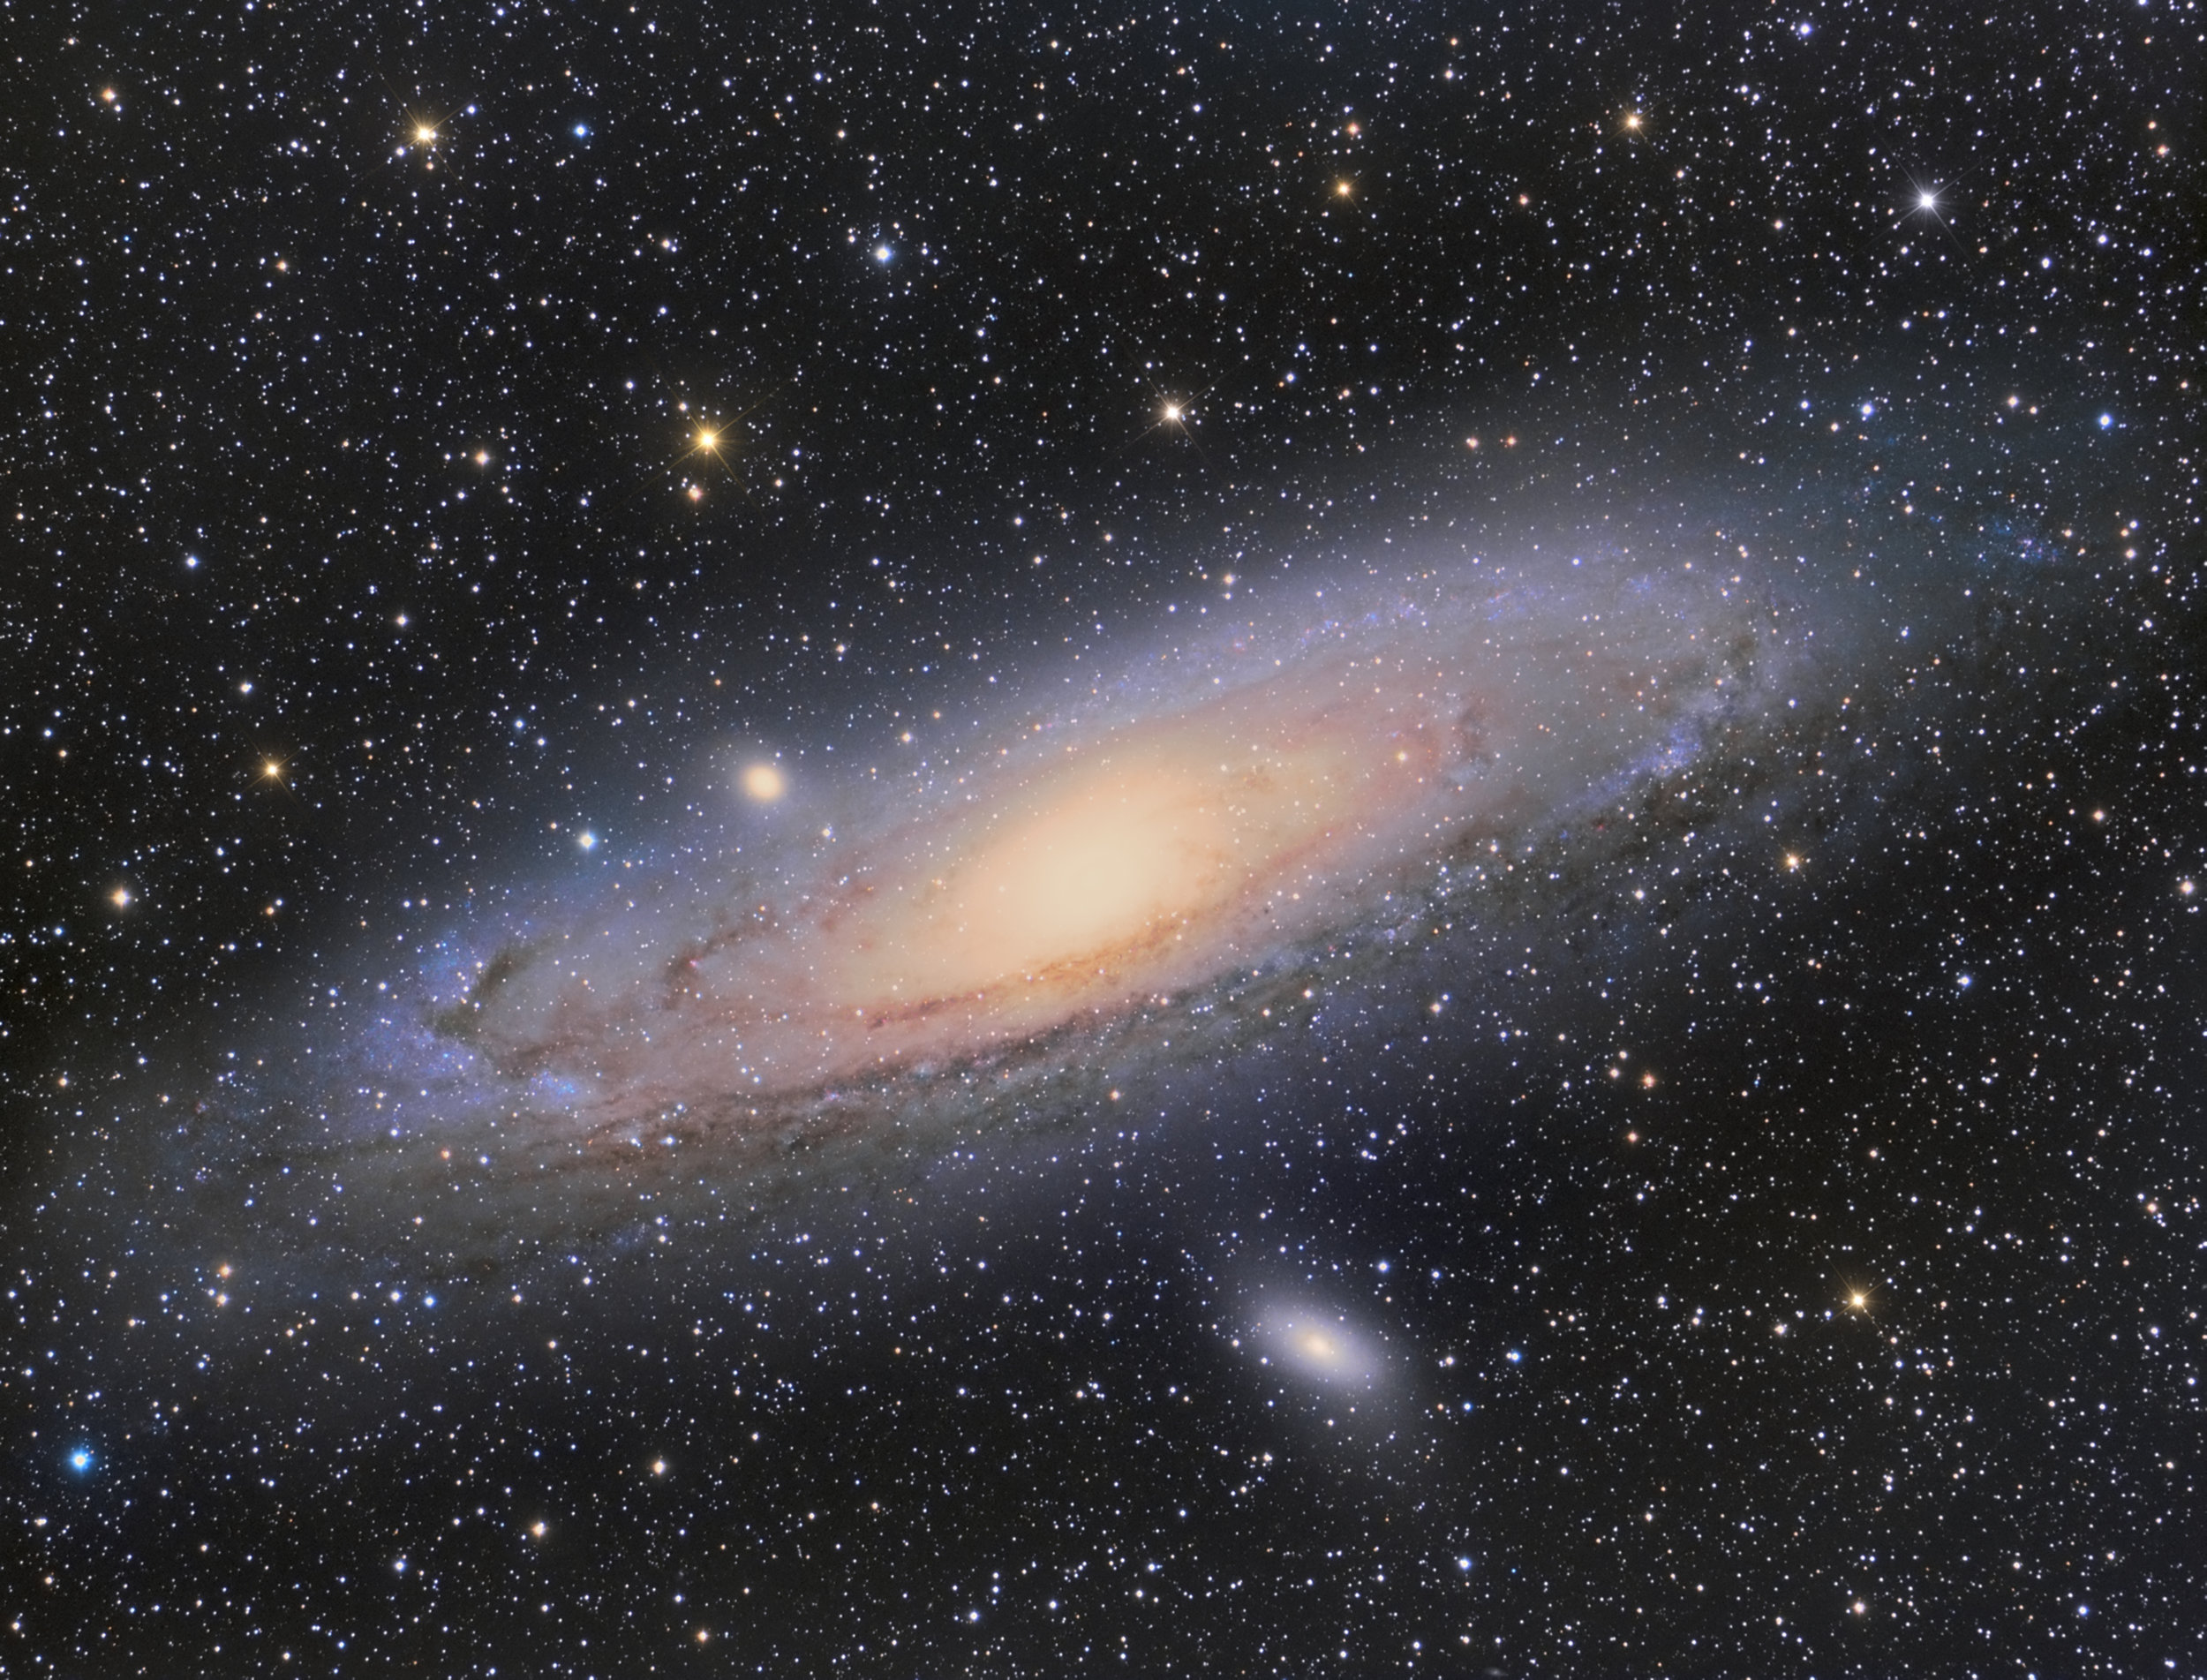
Before and after


PixInsight LRGB combine tutorial deconstructed
Lets begin.
The following is done on 4 stacked, aligned and calibrated LRGB masters.
In PixInsight open your LRGB images, and combine your RGB images using the LRGBCombination tool. Un-check Lum and load the RGB channels with your RGB images.
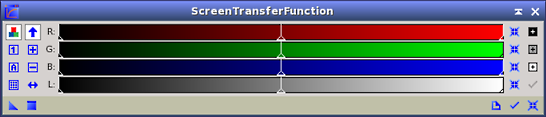
Open STF, and apply an auto stretch to the newly created RGB image see type what type of gradients are in the image. Radial gradients are from inaccuracies in flats calibration, where as liner gradients are created from light pollution.
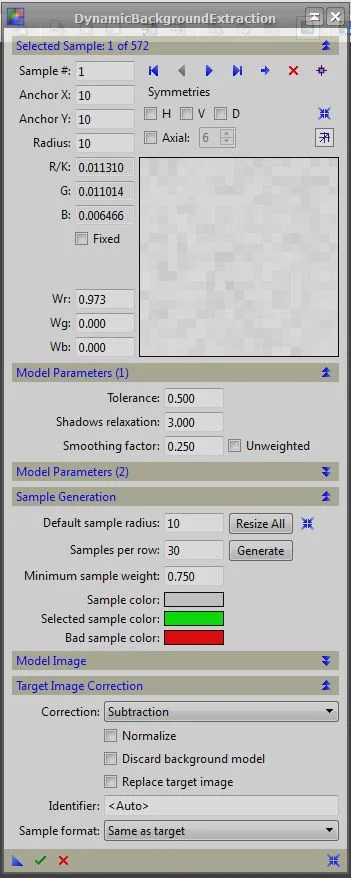
To fix Gradients, use either DynamicBackgroundExtraction (DBE) tool, or the AutoBackgroundExtraction tool.
If you're going to use DBE, select a minimum of 50 points.
In the "Target Image Correction" section of the DBE interface, select division for bad flat fielding gradients and select subtraction for sky glow or light pollution gradients.
Save an instance of the DBE samples for use on the Lum image later.
Now we need to fix the color of the newly created RGB image with ColorCalibration and the BackgroundNeutralization tool. Do BackgroundNeutralization first using a preview of the background (try and select nothing but background here) for local support.
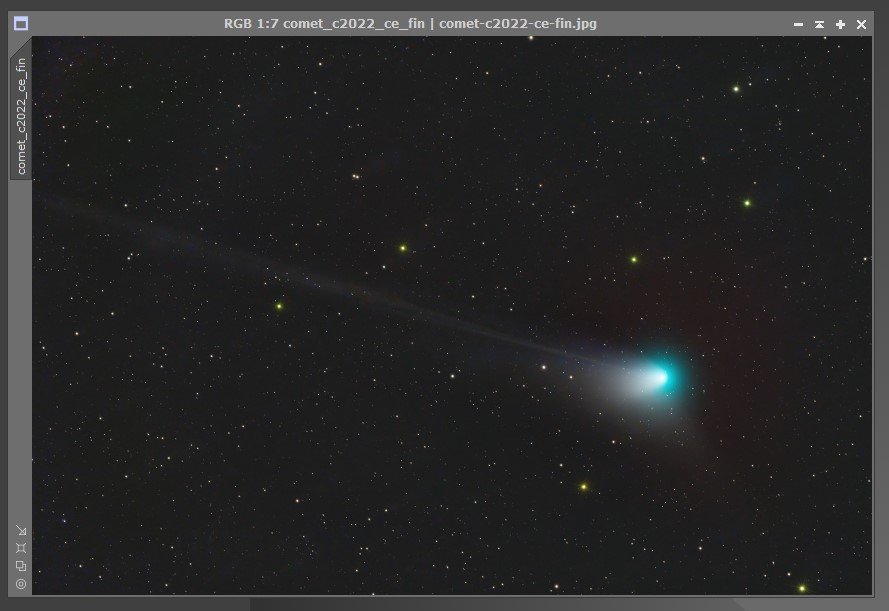
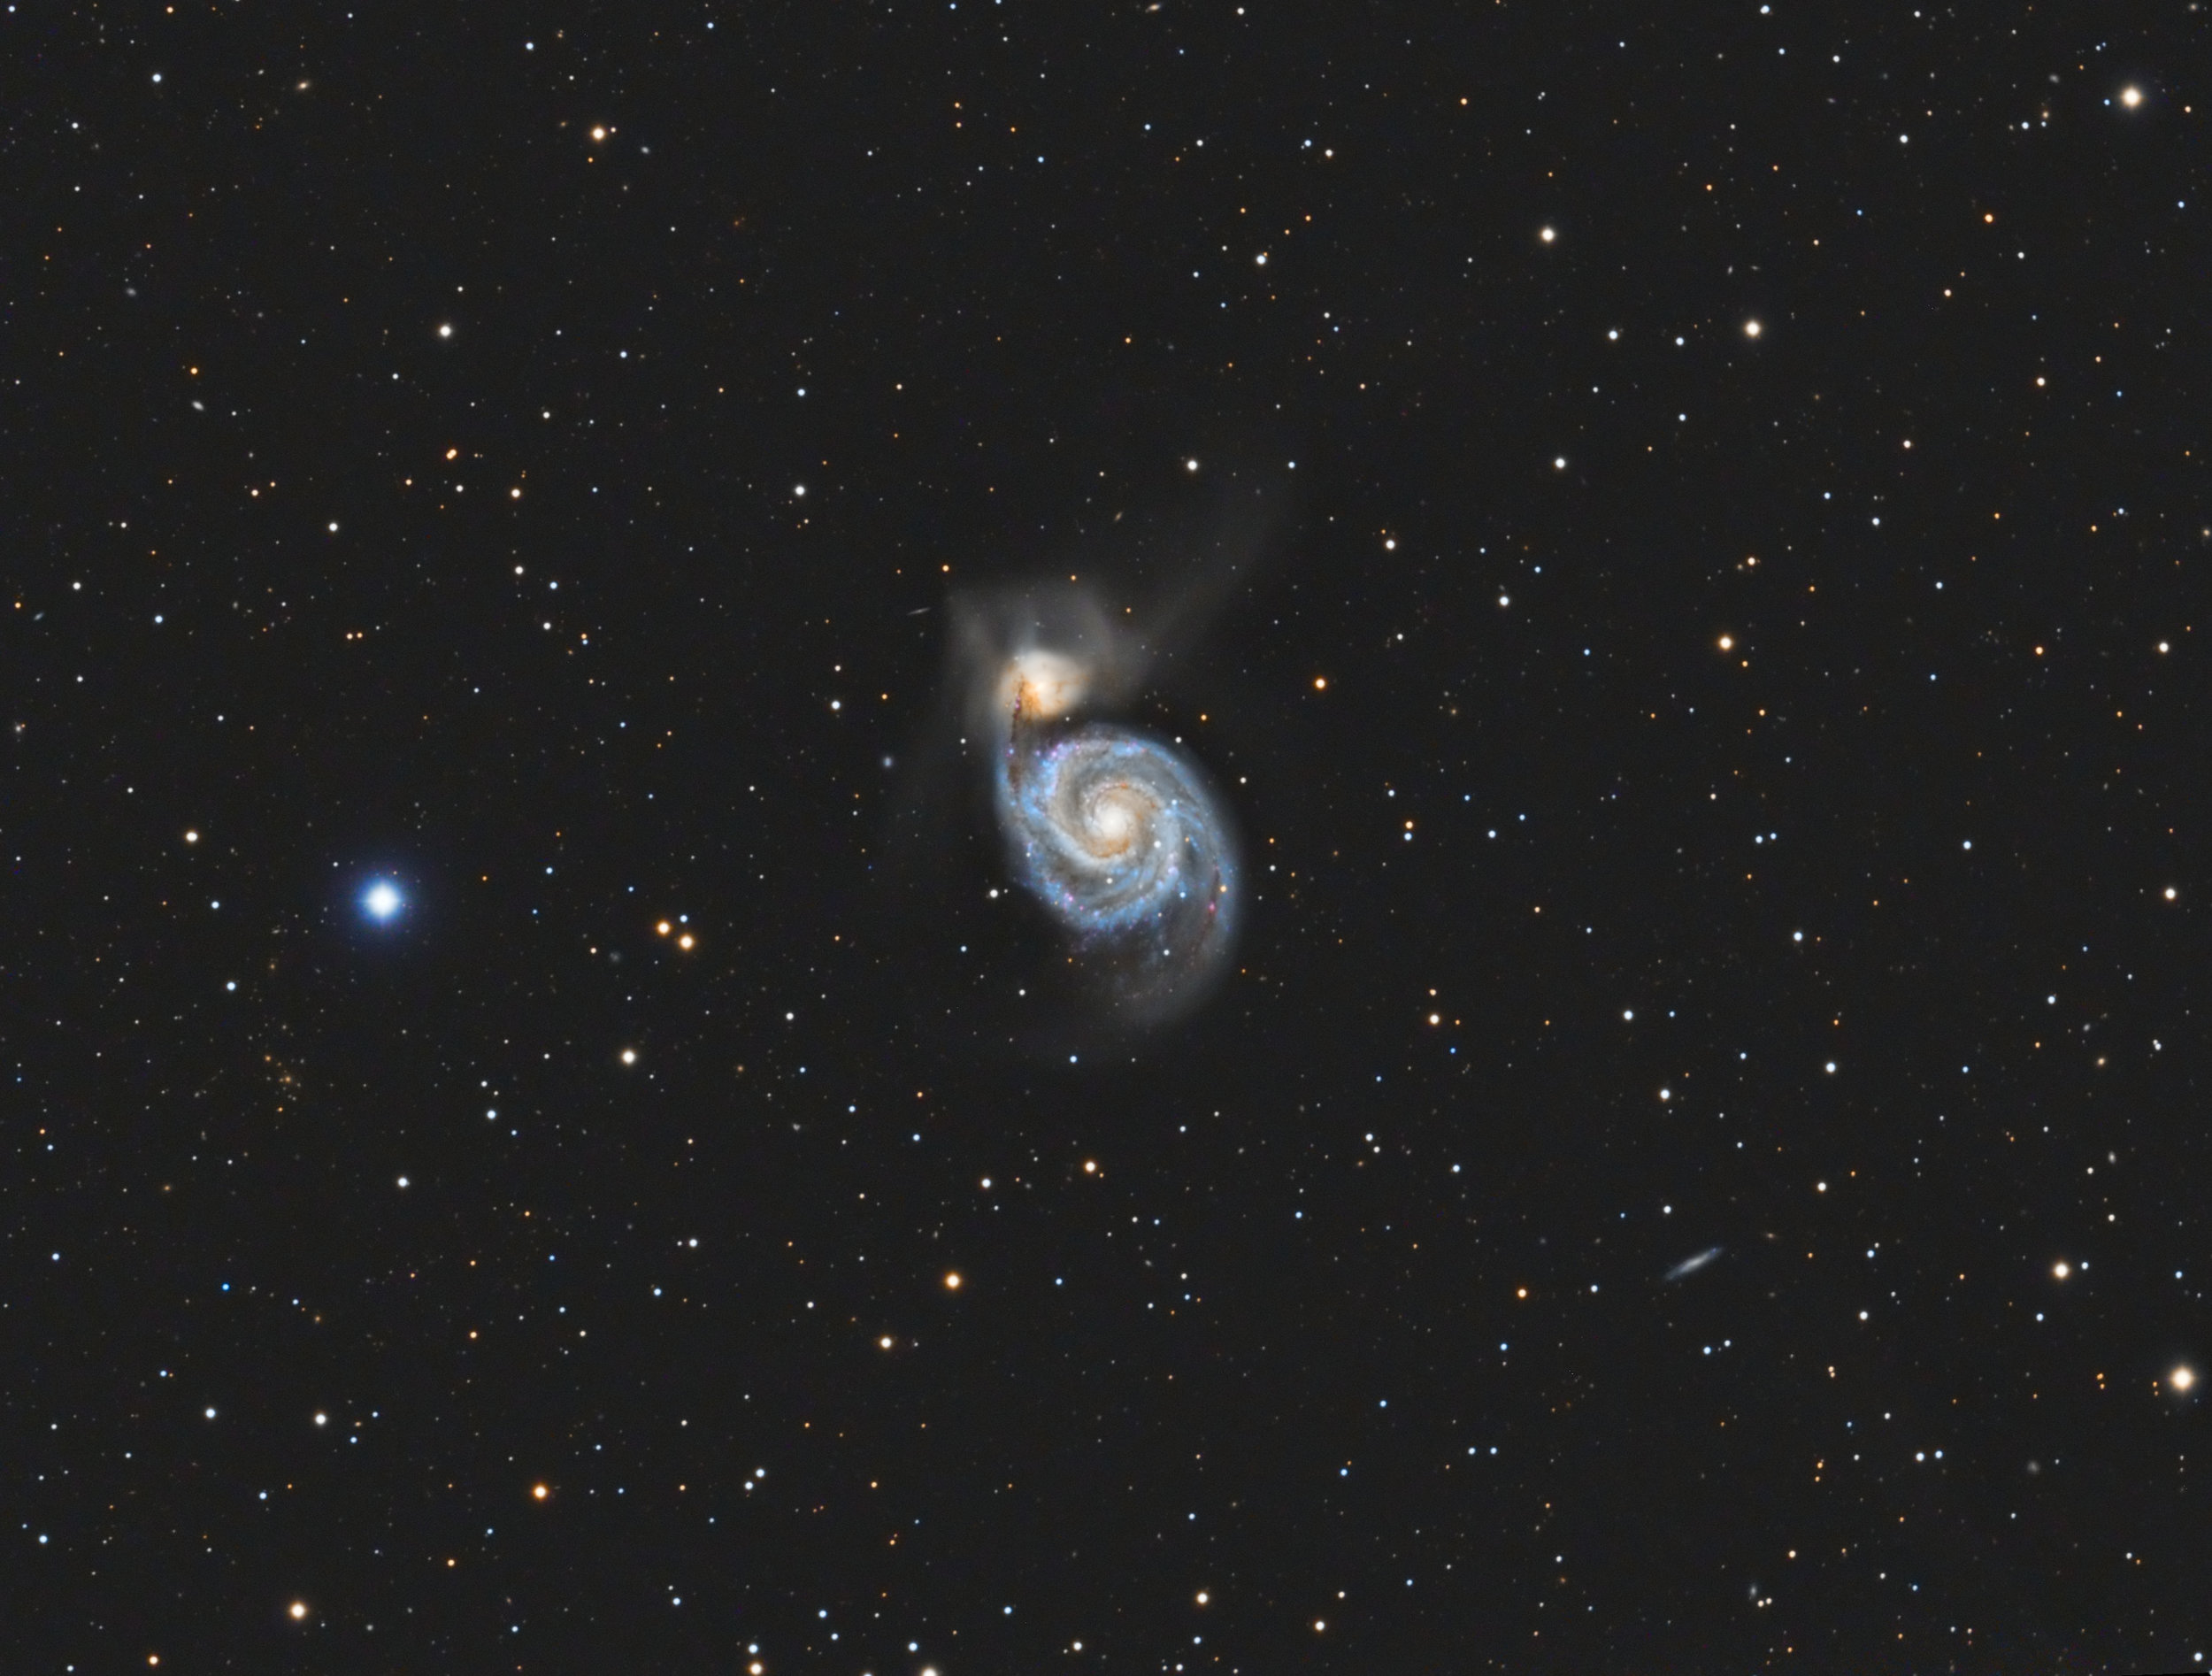
Tool set images


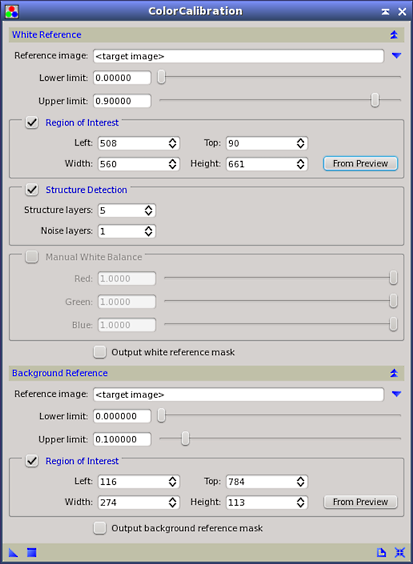


Next, we calibrate the color with the ColorCalibration tool. Set the white reference by creating a preview of the galaxy and for the background reference use the previous created preview, make sure to un-check the Structure Detection checkbox.
Next step is to prepare the Luminance image for this task.
Open DBE and use your saved DBE instance to load samples, select subtraction or division depending on the type of gradients you have and apply to your Luminance image.
At this point all the data is still linear (not stretched). The LRGB combination process is to replace the lightness of the RGB image with the luminance. For this task to work correctly, it is essential that both images be compatible in terms of overall brightness and contrast.
Open the HistogramTransformation tool and apply a similar stretch to both the LUM and RGB images, be very precise. I don’t use the STF tool here as I find it over stretches my images making them very noisy so I do it manually. Your results may vary.
It is very important to understand that from now on the images are nonlinear (have been stretched), and that this change is irreversible.
The next step is open HDRWaveletTransform tool, the name has changed to HDRMultiscaleTransform tool. I use 6 layers most of the time. Also check "lightness mask" this will help with ringing. Apply these settings to both Lum and RGB image.
Now open LRGBCombination tool check Lum channel and un-check the RGB channels, add your Luminamce image to the Lum channel, adjust saturation as needed (moving slider to the left adds saturation) also make sure to use chrominance noise reduction algorithm to remove color noise. Apply globally.
Last step, Use the SCNR tool to remove green bias in the LRGB image. Apply an Average Neutral option set to 100% to the green channel.
After LRGB combination the image can be further stretched. Open the HistogramTransformation, activate the Track View option, and reset the tool and stretch to likeness.
Just the steps in the correct order
LRGBCombination (RGB combine)
DBE (save instance for later use on Lum image)
BackgroundNeutralization
ColorCalibration
Open Lum image
DBE (use Instance) on Lum
HistogramTransformation on both Images (same brightness levels)
HDRWaveletTransform tool 3- to 6 layers whatever works best apply to both images
LRGBCombination (Lum combine) adjust saturation and check off chrominance noise reduction
SCNR tool apply an Average Neutral option to 100% of the green
HistogramTransformation stretch once more to your likeness
I’ve been a dedicated to Squarespace fan for 20 years. Love the product, people and company.